Did you know a single teaspoon of water from a contaminated tank can contain millions of bacteria? This startling fact highlights a critical, yet often overlooked, part of RV maintenance. Your rig’s water system is the heart of your home on wheels, supplying everything from drinking water to your shower.
Many owners diligently service their gray and black tanks, but the fresh water tank demands equal attention. Without proper care, invisible threats like mold and algae can thrive. This compromises the safety and taste of your water.
Cleaning this essential component isn’t just about removing grime. It’s a vital process for protecting your family’s health. The goal is to ensure every drop from your taps remains safe and pleasant.
This guide will walk you through a straightforward, effective method. You’ll learn to use a common household item to thoroughly cleanse the entire system. The procedure is simpler than you might think and can be completed in an afternoon.
Gaining this knowledge empowers you to travel with complete confidence. Whether you camp on weekends or live full-time in your rig, mastering this skill is non-negotiable for a worry-free adventure.
Key Takeaways
- Regular maintenance of your water system is crucial for preventing harmful bacteria.
- A clean tank ensures safe, good-tasting water for drinking and cooking.
- The cleaning process is manageable and can be finished in a few hours.
- Proper care protects your health and enhances your overall travel experience.
- This guide provides a complete, step-by-step approach for effective results.
Understanding the Importance of a Clean RV Water System
Contamination can develop silently in your RV’s plumbing system, often going unnoticed until health problems or foul odors appear. Many owners assume their supply remains pure, but invisible threats accumulate over time.

Common Problems: Bacteria, Mold, and Algae
Your vehicle’s storage container creates an ideal environment for microorganisms. The warm, dark, moist conditions during summer months encourage rapid growth. Even sources that seem clean can introduce contaminants.
Neglected maintenance leads to visible issues. Foul odors permeate the entire plumbing network. Unpleasant tastes affect your drinking supply, and slimy biofilm builds up in fixtures.
Impact on Health and Water Taste
Using contaminated liquid for daily activities poses real health risks. Gastrointestinal illness can result from elevated bacteria levels during cooking or brushing teeth. The quality of your drinking supply directly affects your wellbeing.
Many travelers don’t realize how much better their liquid can taste after proper care. Regular maintenance ensures safe, great-tasting results throughout your adventures.
| Contamination Type | Common Symptoms | Prevention Method |
|---|---|---|
| Bacteria Growth | Foul odors, health risks | Regular system cleaning |
| Mold & Mildew | Musty smells, visible spores | Proper ventilation & drying |
| Algae Buildup | Green tint, slimy surfaces | Light protection & filtration |
When to Sanitize Your Fresh Water Tank
Knowing exactly when your storage system needs attention saves time and ensures consistent water quality. Proper timing prevents most issues before they become serious problems.
Seasonal Maintenance and Usage Triggers
Full-time travelers should clean their system once every six months. Occasional users benefit from twice-yearly maintenance.
Spring cleaning after winter storage is essential. Mid-season care following heavy travel maintains purity.
Frequent usage may require three or four cleanings annually. This schedule provides better protection against buildup.
Specific events demand immediate attention. These include after storage periods, purchasing new vehicles, or extended inactivity with liquid inside.
Signs of Contamination After Storage or Travel
Unusual odors from faucets signal potential problems. Off-tastes in your drinking supply indicate immediate need for care.
Visible discoloration or slimy surfaces around fixtures require prompt action. These signs suggest microbial growth has begun.
Questionable sources during travel merit precautionary measures. Campgrounds with poor quality or boil-order communities justify extra caution.
Marking dates on your maintenance calendar creates good habits. Regular care prevents larger issues and ensures peace of mind.
how to sanitize rv fresh water tank: A Step-by-Step Guide
Following these clear instructions will give you confidence in your vehicle’s plumbing network. This comprehensive procedure ensures complete coverage of every component.
Preparing Your RV and Setting Up the Process
Begin by gathering all necessary supplies and parking in a location with proper drainage. Set aside approximately half a day for the entire operation.
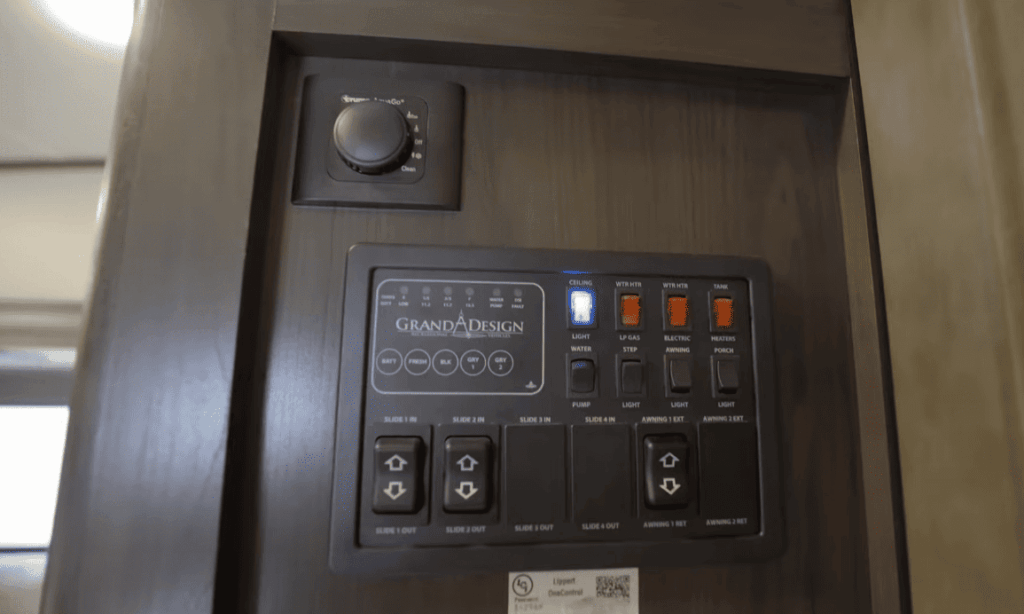
The first critical step involves turning off your water heater completely. This prevents the cleaning solution from being heated, which could damage internal components.
Step-by-Step Instructions for Effective Sanitization
Empty both storage containers by locating and opening the drain valves underneath your vehicle. Close them securely once fully drained.
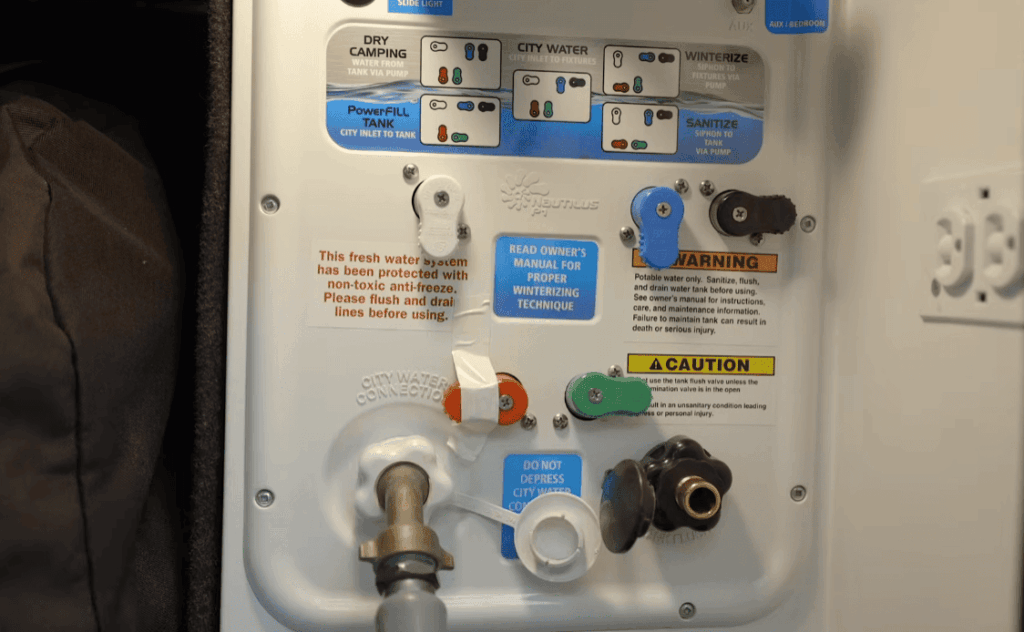
If your unit has a bypass valve for the heater, engage it now. This protects sensitive parts from potential corrosion.
Carefully add the prepared mixture to the main container using a funnel. Fill it completely with clean liquid.
Activate the pump and open every faucet until you detect the cleaning agent’s scent. This confirms the solution has reached throughout the entire network.
Let the mixture sit for 5-10 hours, with many experienced owners preferring overnight. Then thoroughly flush until no odor remains.
Calculating and Mixing the Correct Bleach Solution
Getting the mixture right is the most critical step in the entire cleaning process. An incorrect ratio can lead to ineffective cleaning or potential damage. Precision ensures both safety and effectiveness.
Before you begin, always consult your owner’s manual. Some manufacturers provide specific recommendations for their systems.
Determining the Proper Bleach-to-Water Ratio
The standard guideline is straightforward. Use ¼ cup of household bleach for every 15-16 gallons of capacity. This creates a potent yet safe mixture.
Calculate the total amount you need based on your storage size. For a 30-gallon unit, use ½ cup. A 60-gallon unit requires 1 full cup. A 90-gallon unit needs 1½ cups.
Using too little of the mixture won’t kill all the microbes. Using too much can harm seals and components.
Tools and Techniques for Accurate Measurement
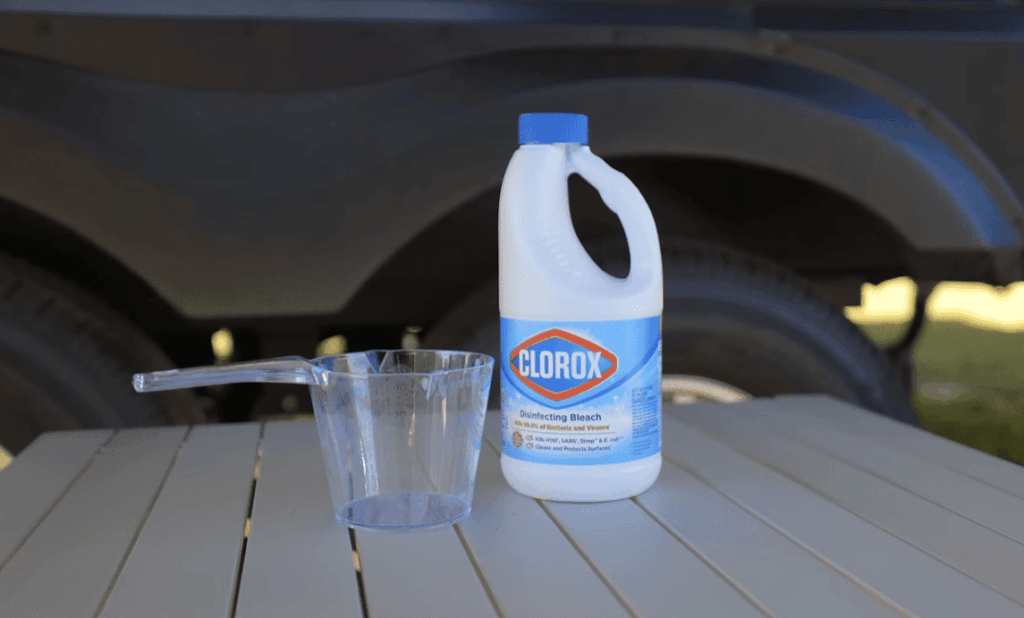
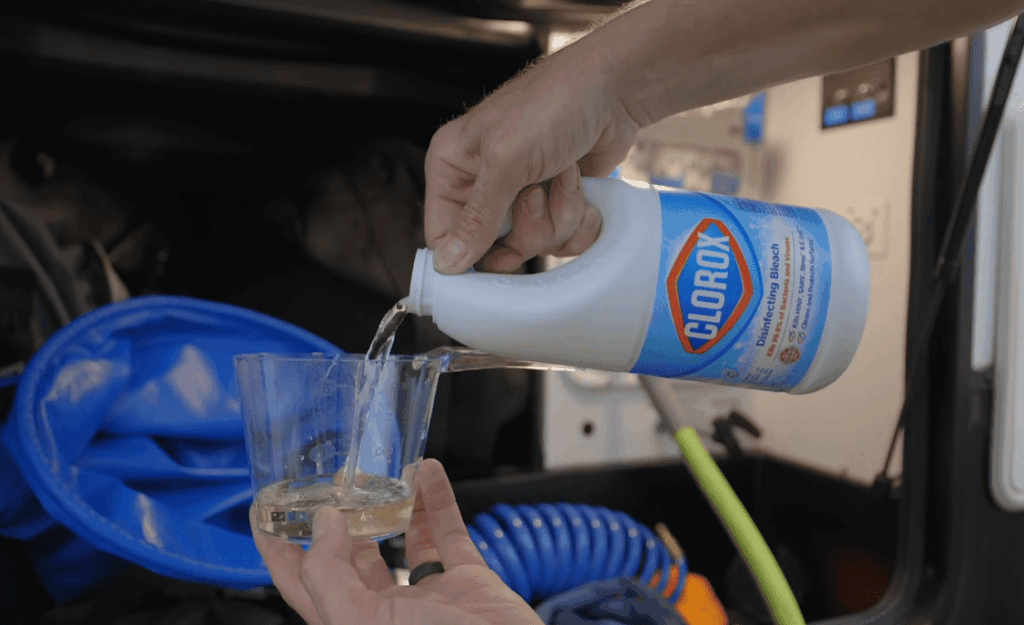
Never pour straight bleach directly into the system. It is highly corrosive. Always pre-dilute the measured amount in a separate container first.
A clean one-gallon jug or a pitcher with a spout works perfectly. Use a standard measuring cup for precision. This simple step protects your plumbing.
Ensure you use regular household bleach with a 5-6% sodium hypochlorite concentration. Avoid “splash-less” varieties, as they are less effective.
| Tank Capacity (Gallons) | Amount of Bleach (Cups) | Pre-Mix Container |
|---|---|---|
| 30 | 1/2 | 1-Gallon Jug |
| 60 | 1 | Large Pitcher |
| 90 | 1 1/2 | Small Bucket |
Safety Tips and Precautions During the Sanitization Process
Before you begin mixing solutions, understanding a few critical precautions will protect your investment. A careful approach ensures effective cleaning without causing harm to your vehicle’s components.
Your focus should be on two key areas: safeguarding the plumbing network and handling chemicals responsibly.
Protecting Your RV Plumbing and Fixtures
Chlorine-based solutions are highly effective but can be corrosive. They may damage rubber seals, plastic fittings, and delicate metal parts.
The water heater requires special attention. Never allow the cleaning mixture to enter the heater tank. Always use the bypass valve. Internal components like the anode rod can be ruined.
Remember to remove any inline filters before starting. The chemical can destroy the filter media. Also, wipe up any spills immediately with water to prevent surface damage.
Handling Bleach and Alternative Sanitizers Responsibly
Personal safety is paramount. Work in a well-ventilated area and consider wearing gloves. Keep children and pets away from the work zone.
Always use regular household bleach with a 5-6% sodium hypochlorite concentration. Avoid splash-less or scented varieties.
Critical Warning: Never mix this chemical with ammonia-based cleaners. This creates toxic, dangerous gases.
Follow these essential rules for safe handling:
- Limit contact time in the system to the recommended duration.
- Store chemicals in a cool, dark place to maintain potency.
- Never use treated water for drinking or cooking until it is fully flushed and odor-free.
Exploring Alternatives to Bleach for Sanitizing
While chlorine bleach is highly effective, some owners prefer different approaches for their maintenance routine. Concerns about chemical exposure, sensitivity to odors, or environmental factors lead many to seek other options.
Fortunately, several viable alternatives exist for keeping your system clean. Each method has distinct advantages and limitations worth considering.
Using Vinegar or Hydrogen Peroxide: Pros and Cons
Hydrogen peroxide offers a popular bleach-free solution. It sanitizes without leaving a chlorine smell behind. Most formulas use a 3-7% concentration.
This method typically requires longer contact time to be fully effective. Unless heated to 130°F, it may not kill all harmful bacteria in a seriously contaminated system.
White vinegar serves well for descaling and removing mineral buildup from lines and fixtures. However, it isn’t strong enough alone to kill dangerous microbes.
Commercially available products provide another convenient way. Brands like Camco offer pre-measured solutions specifically formulated for vehicle systems.
| Method | Pros | Cons |
|---|---|---|
| Bleach | Most effective, inexpensive | Strong odor, careful handling needed |
| Hydrogen Peroxide | Gentler, less odor | More expensive, potentially less effective |
| Vinegar | Natural, great for mineral deposits | Inadequate for killing bacteria |
Whichever alternative you choose, follow manufacturer directions precisely for concentration and contact time. The fundamental process remains similar: drain, add solution, circulate, wait, and flush thoroughly.
For maximum effectiveness, consider starting with traditional bleach for a major cleaning. You can then use gentler alternatives for maintenance between deep cleans.
Final Steps: Flushing and Rinsing the RV Water System
Proper flushing transforms your chemically treated plumbing back into a safe drinking water source. After the solution has had time to work, removing every trace becomes your priority.
Ensuring No Residual Bleach Remains
Begin by activating your water pump and opening all faucets. Allow the treated liquid to drain into your gray holding tanks. Never release it directly onto the ground.
Refill the storage container with fresh, potable water using your clean hose. Run every faucet until you drain the system completely. Repeat this cycle until no chemical odor remains.
Your nose provides a good initial check, but not final confirmation. Less-used lines, like outside showers, may need extra attention.
Post-Sanitization Water Quality Checks
For absolute certainty, use a DPD test kit. This simple tool uses reagent tablets that turn red if chlorine is present. The color intensity indicates concentration levels.
Health authorities recommend zero chlorine before using the supply for drinking. Once confirmed, your water should taste clean, similar to quality city water.
If you’ll use the vehicle soon, fill the container completely. For extended storage, consider leaving it empty to prevent new growth. Reinstall any filters you removed earlier.
Conclusion
You’ve now mastered a crucial skill for your mobile adventures. This maintenance task might have seemed complex initially, but you possess all the knowledge for success.
The entire process is straightforward. It demands minimal supplies and a small amount of your time, mostly passive waiting. Your reward is clean, great-tasting water from every tap.
Establishing a regular schedule is vital for your family’s health and enjoyment. Whether you travel occasionally or full-time, consistent care makes all the difference.
This chore becomes a quick, simple routine after the first time. Many owners find it’s far less intimidating than they first believed.
Mark your calendar for the next session and gather your supplies. Approach the job with confidence, knowing you are providing excellent care for your vehicle.
Whether you prefer the traditional way or an alternative, the key is regular action. Clean water is the foundation of a fantastic, worry-free journey.